Tuesday, December 21, 2021

Jil's Top Ten of 2021

5:00 AM


Hello Ai fans!

It's my turn to share my favorite ten cards from 2021.  This is bittersweet for me because this will be my last post as part of the design team.  I will really miss being a part of this talented group of artists.  I wish you all a Merry Christmas and a Happy New Year.
Halloween Slimline
Proud Nurse Set
Santa Twist Set
Udderly Fantastic Set
MB Santa Christmas
2021 Freebies
Spring Chicken Set
Holy Moley


Snowy Window Set
Spooky Wagon Set

Thanks for stopping by and Have a Great Day!


Tuesday, December 14, 2021

Snowman Wheelie Card

5:00 AM


Hello Ai fans!

I used the Snowman Wheelie stamp and die set to make an interactive Christmas card.  There is a lever inside that moves the front wheel and the snowman's legs. .
I started by stamping the images onto Spectrum Noir Ultra Smooth card stock with Gina K Black Amalgam ink and colored them with Copic markers.  The colors I used will be listed at the end of this post.  I then cut the images out with the matching dies that come in the set.
  I stamped the greeting onto a thin strip of white card stock using Versafine Clair Nocturne ink. 
To finish the card I put together the snowman following the directions on the packaging. I added a piece of patterned paper to a white A2 card and cut the hole for the wheel.  I added the snowman layer and attached the inside piece to the foam tape on the back of the wheel.


Thanks for stopping by and Have a Great Day!

Tuesday, November 16, 2021

Southwest Christmas Card

5:00 AM


Hello Ai fans!

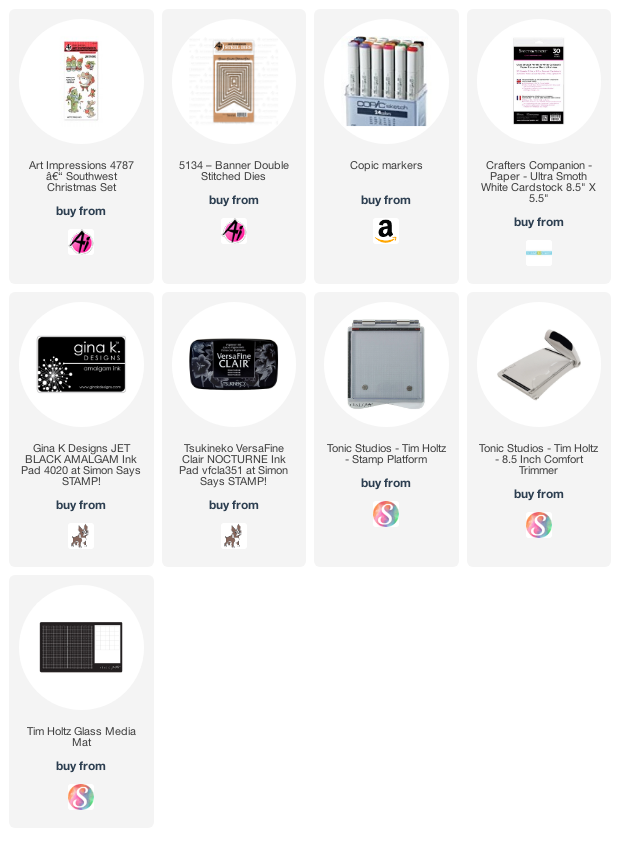
I used the Southwest Christmas stamp set to make another Christmas card.  I just love the cut images in this set & couldn't wait to color them up.
I started by stamping the images onto Spectrum Noir Ultra Smooth card stock with Gina K Black Amalgam ink and colored them with Copic markers.  The colors I used will be listed at the end of this post.  I then cut the images out with Cutterbee scissors and set them aside.  I stamped the greeting onto a the top corner of white card stock that had been cut with the Banner Double Stitched Dies using Versafine Clair Nocturne ink. 
I attache a piece of Moda Scraps Christmas paper to an A2 card front.  I then attached the Banner Die to it before adding the bunny and Santa to it with foam tape.
Copic Colors Used:
Skin - E11, E000
Red - R37, R27, R05
Grey - W3. W1, W0
Green - YG67, YG63, YG61
Yellow -Y15, Y13, Y11

Thanks for stopping by and Have a Great Day!

Tuesday, November 9, 2021

Nativity Matchbox

5:00 AM


Hello Ai fans!

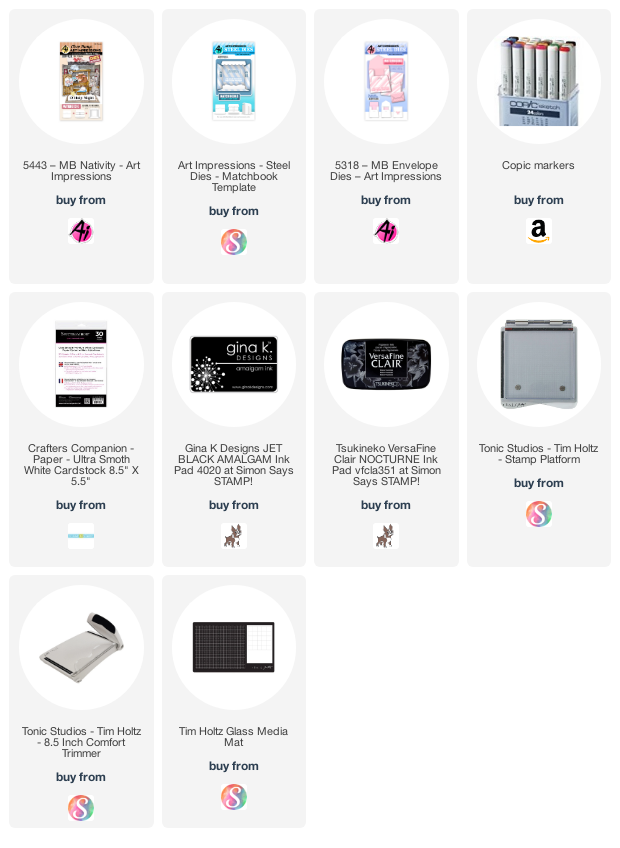
I used the Matchbook (MB) Nativity stamp and die set to make this compact nativity. I also used the add on dies for the matchbook and holder to complete this project.
I started by stamping the images onto Spectrum Noir Ultra Smooth card stock with Gina K Black Amalgam ink and colored them with Copic markers.  The colors I used will be listed at the end of this post.  I then cut the images out with the matching dies that come in the set.
I used the MB Template and MB Envelope dies to cut from 6"x6" Whimsy Paper.  I attached the cut Nativity images to the MB Template according to the directions on the package.  I added it to the MB envelope to send it out. 
Copic Colors Used:
Gray - C3, C1, C0
Skin - E11, E00
Green - YG63, YG61
Wood - E35, E33, E31
Cow - E74, E71, E70


Thanks for stopping by and Have a Great Day!

Tuesday, November 2, 2021

Christmas Snowman Window

5:00 AM


Hello Ai fans!

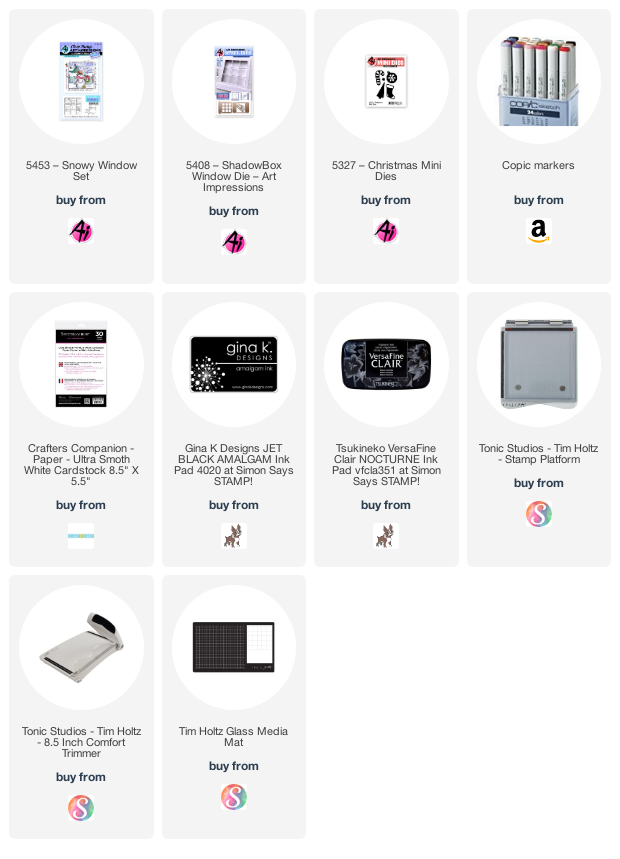
I used the Snowy Window stamp set for a rather girly Christmas card.  I added the ornaments from the Christmas Mini Die set to finish up the card front.
I started by stamping the images onto Spectrum Noir Ultra Smooth card stock with Gina K Black Amalgam ink and colored them with Copic markers.  The colors I used will be listed at the end of this post.  I then cut the images out with the matching dies that come in the set and set them aside. 
I cut the Window from wood grain card stock using the Shadowbox Window die set. I added the window image to the shadowbox piece and attached it inside the window opening.  I then attached the snowman image with foam tape.  I then added the window frame and window sill to the front of the card.  I cut the ornaments from white card stock and colored them with Copic markers.  They are attached to the front of the card with foam tape. I added White Blizzard Nuvo Drops around the image for some added sparkle.
Copic Colors Used:
Brown - E74, E71, E70
Green - YG63, YG61
Red - YG67, R37, R27
Snow - B000, B0000
Sky 0 B02, B0000
Fence - W3


Thanks for stopping by and Have a Great Day!

Tuesday, October 26, 2021

Christmas Slimline Card

5:00 AM


Hello Ai fans!

I used the Christmas Slimline stamp set. It comes with the matching dies to make it very simple to cut out all of the images.  I also used the new Slimline Double Stitched Dies on this festive card. 
I started by stamping the images onto Spectrum Noir Ultra Smooth card stock with Gina K Black Amalgam ink and colored them with Copic markers.  The colors I used will be listed at the end of this post.  I then cut the images out with the matching dies that come in the set.
 I then cut the images out with Cutterbee scissors and set them aside.  I stamped the greeting onto a thin strip of white card stock using Versafine Clair Nocturne ink. 
To finish the card I used the new Slimline Double Stictched Die set.  I cut out a layer of burgundy card stock, white catd stock and a piece of patterned paper using the slimline dies.  I colored the white layer with my Distress Oxide Inks and the Ranger Mini Blending Tool.  I used the colors Tumbled Glass and Salty Ocean.  I cut out a snow bank from the Lawn Fawn Stitched Hillside Die set. I added the burgundy layer to a white slimline card. I then added the patterned paper to one card and the ink blended layer to another card.  I attached the snow bank along the bottom of the panel and added the snowman bird and bunny images to the card with foam tape. I added the greeting flat. I then added some White Blizzard Nuvo Glitter Drops to the main images. 
Copic Colors Used:
Blue 0 B02, B00, B0000
Snow - B000, B0000, 0
Pink - R85, R83, R81
Green - YG67, YG65, YG61
Brown - E74, E71, E70
Orange - YR14, Y15
Bunny - W3, W1, W0


Thanks for stopping by and Have a Great Day!

Thursday, October 21, 2021

Planes, Trains and Automobiles Challenge Card

5:00 AM


Hello Ai fans!

It's week two of our Planes, Trains and Automobile Challenge.  We are celebrating the release of the new Birthday Buggy Set,  Spooky Wagon Set and Christmas Truck Set.  Use anything that you can ride in or on and submit it to the challenge for a chance to win free stamps.    
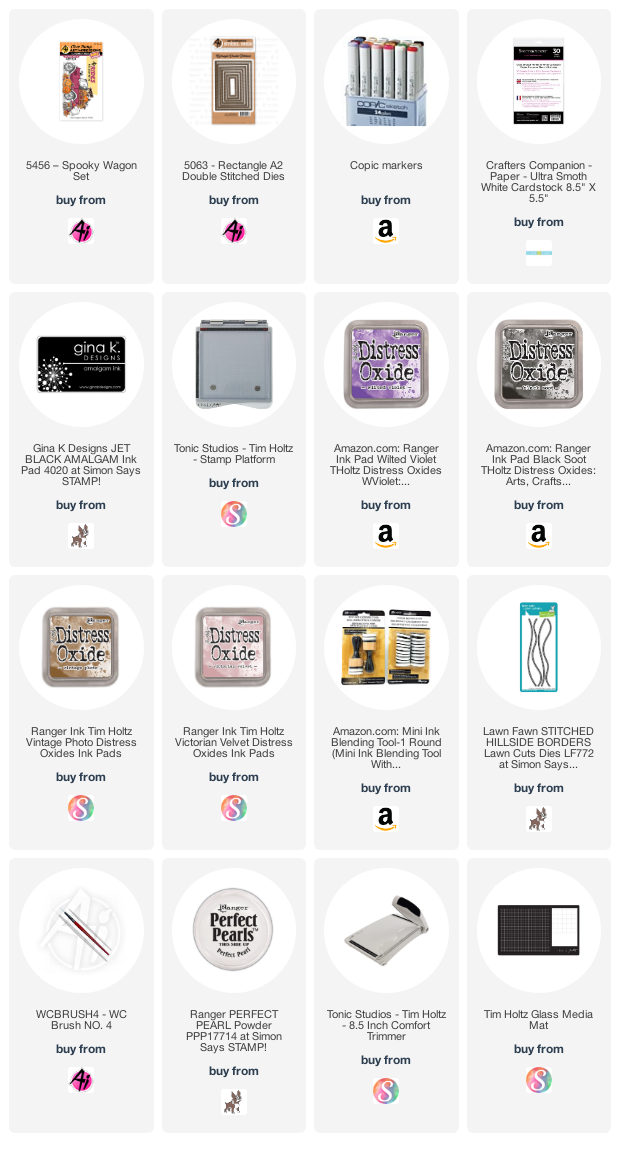
  I used the Spooky Wagon set to make a fun Halloween scene.
I started by stamping the images onto Spectrum Noir Ultra Smooth card stock with Gina K Black Amalgam ink and colored them with Copic markers.  The colors I used will be listed at the end of this post.  I then cut the images out with the matching dies that come in the set. I cut the New Spider Web die from white paper. I also cut the fence from the WC Fence Set and the Lawn Fawn Stitched Hillside border from Kraft cardstock.
The background layer started as white card stock. I cut it with the Rectangle A2 Double Stitched Dies.  I added Distress Oxide ink to it using the Ranger Mini Blending Tool with a foam applicator.  I used Victorian Velvet, Wilted Violet and Black Soot.  I added Vintage Photo over the fence and also splattered it over the ground. I splattered the background with Perfect Pearl colored Perfect Pearls mixed with water.  I attached all of the images to the card with foam tape before attaching everything to a white A2 card base.
Copic Colors Used:
Orange - YR18, YR14, YR13
Purple - V09, V04, V01
Grey - C3, C1, C0
Dark Grey - C7, C5, C3
Brown - E35, E33, E31
Green - YG67 YG65, YG61
Yellow - Y13, YR14
Wood - E35, E31
Cat - W5, W3, W1


Thanks for stopping by and Have a Great Day!